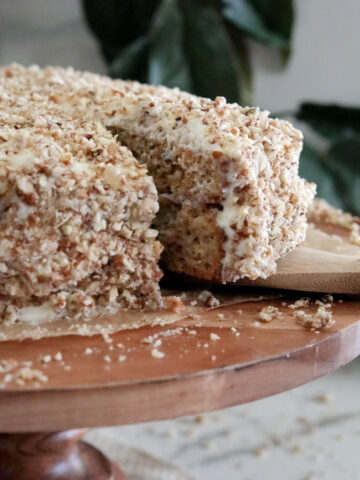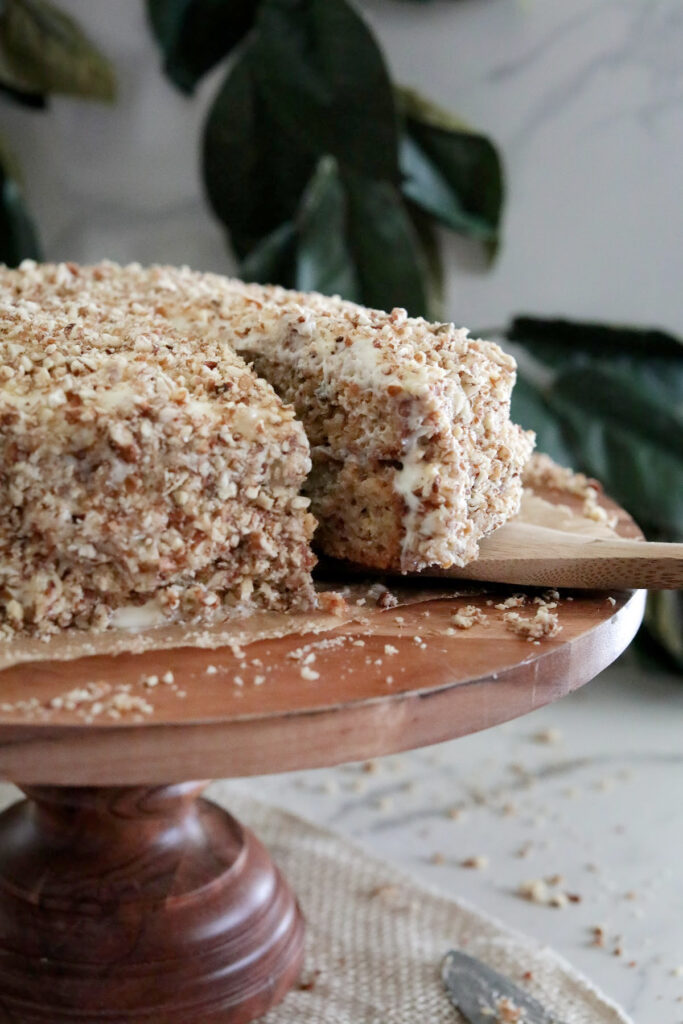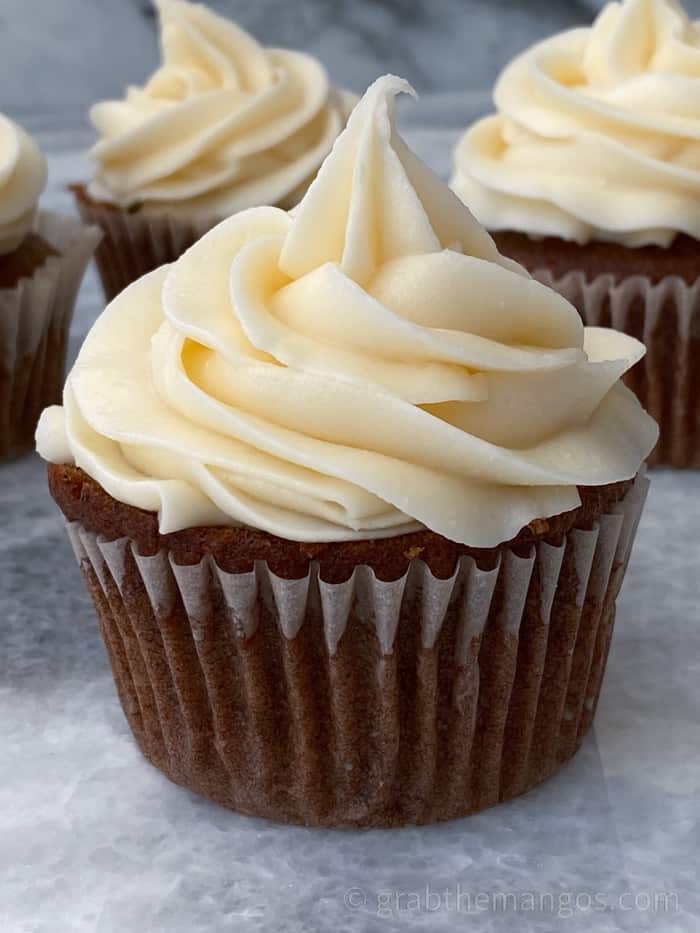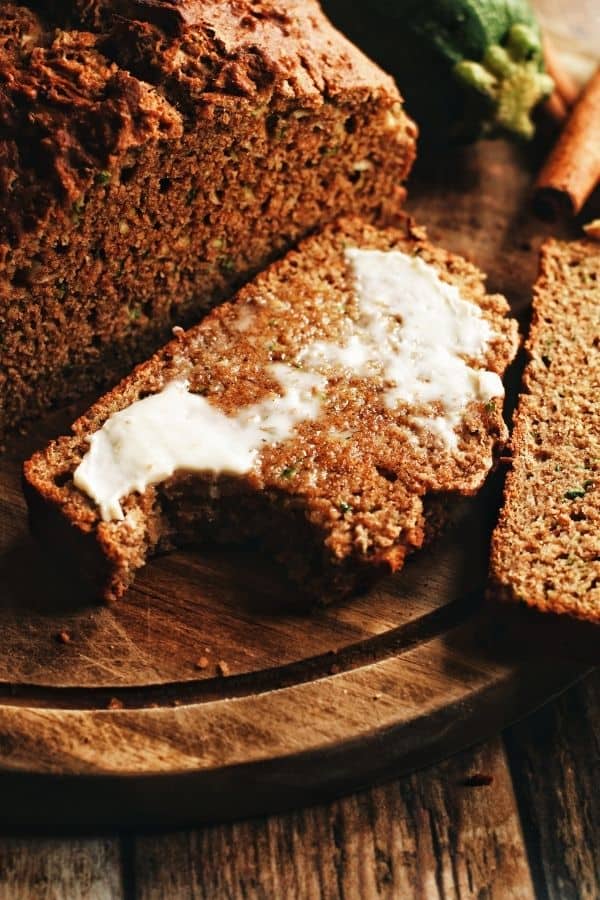

Fall is the perfect time to enjoy cozy, comforting desserts, and this Apple Cider Donut Bundt Cake captures that spirit beautifully. Bursting with the rich flavors of cinnamon, apple cider, and a delicious sugar-cinnamon topping, this cake tastes just like your favorite apple cider donuts but in bundt cake form! This recipe is easy to follow and perfect for any fall gathering.

Why You’ll Love This Apple Cider Donut Bundt Cake
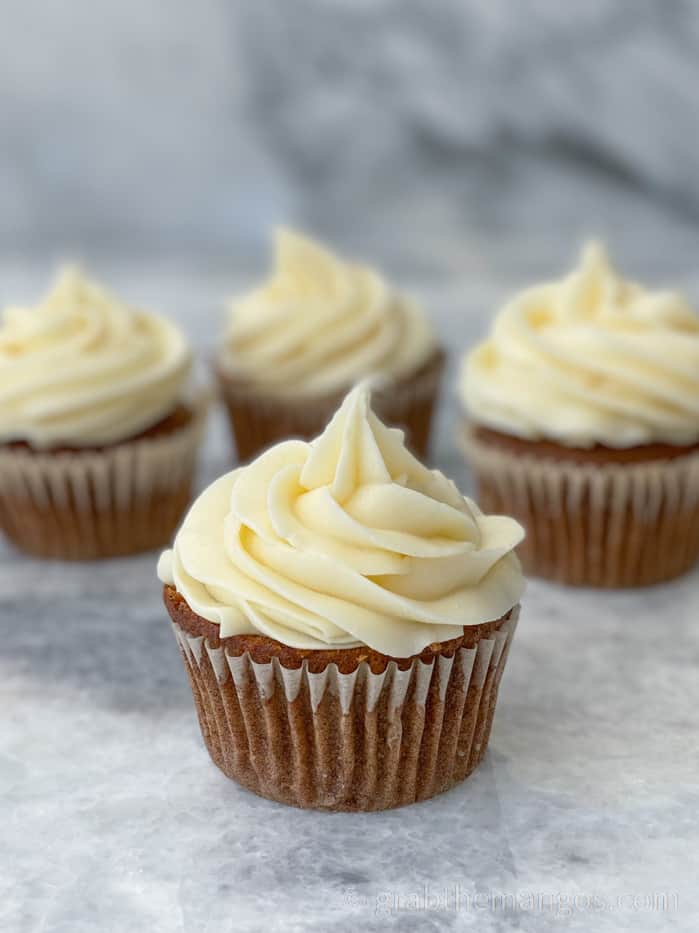
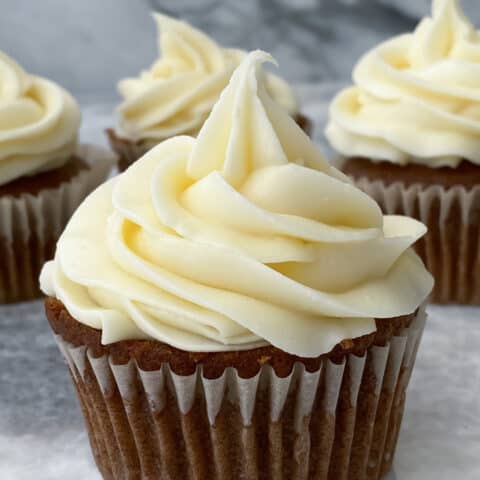
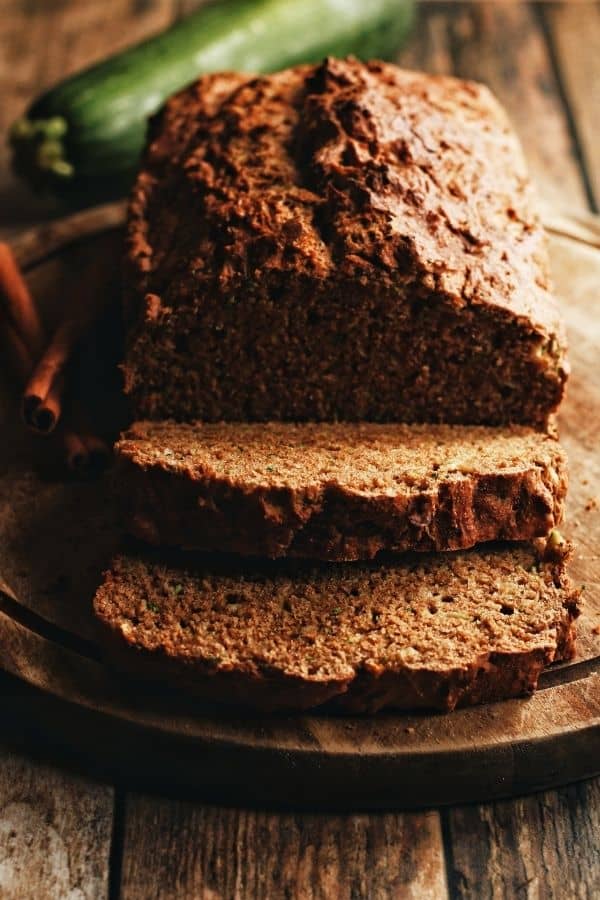
This Apple Cider Donut Bundt Cake brings all the flavors of fall in one gorgeous cake. It's the ultimate autumn treat with warming spices like cinnamon and nutmeg combined with sweet applesauce and tangy apple cider. The sugar-cinnamon coating adds a sweet, slightly crunchy finish to every slice, making it impossible to resist!

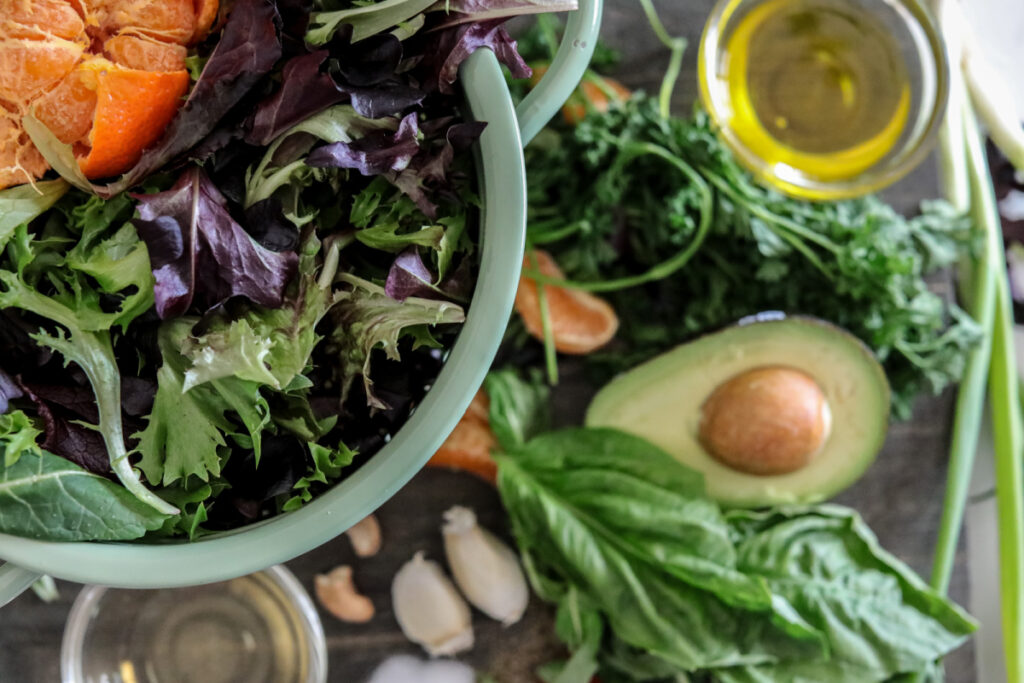
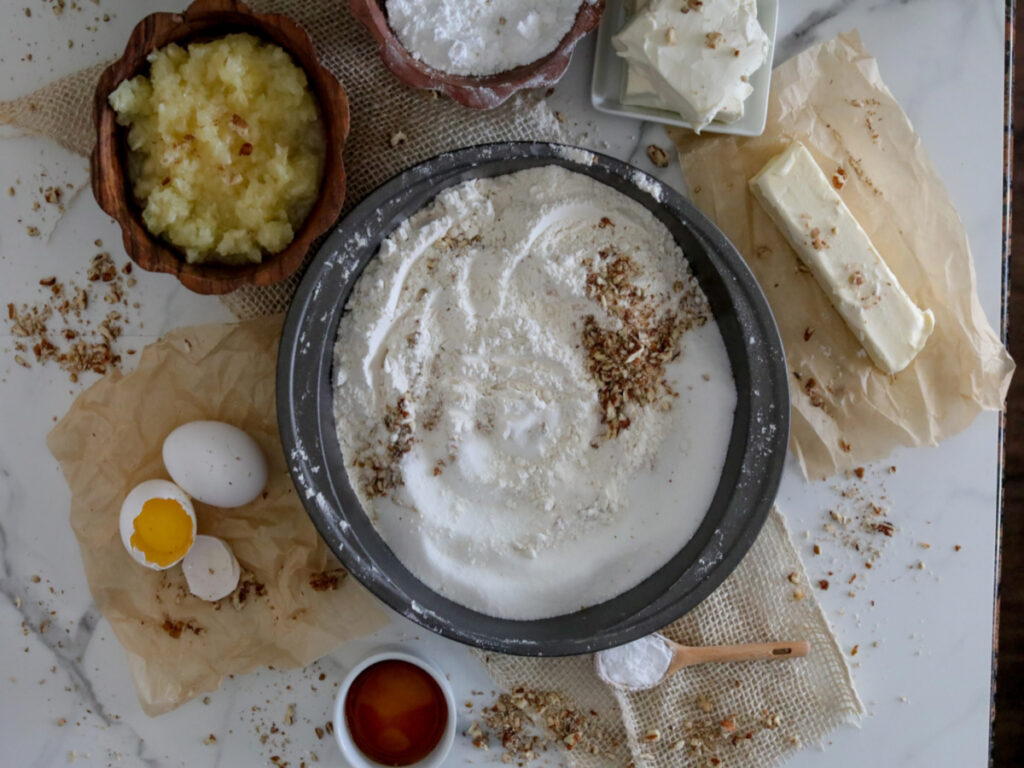
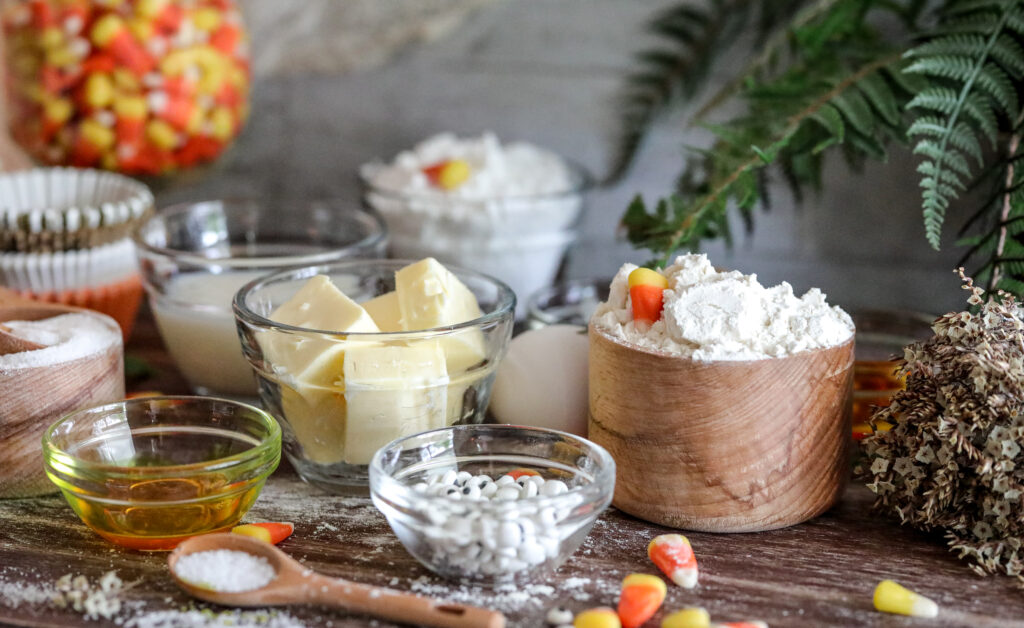
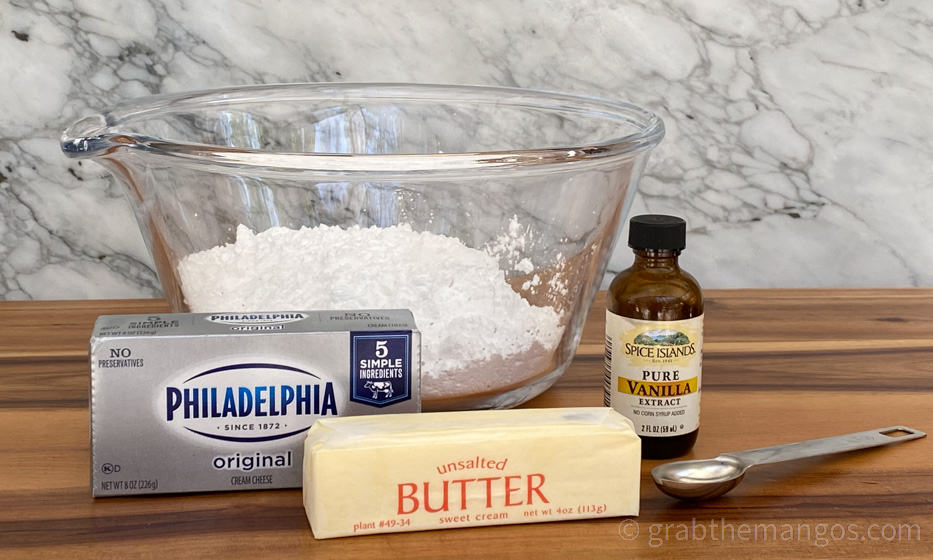
Ingredients for Apple Cider Bundt Cake
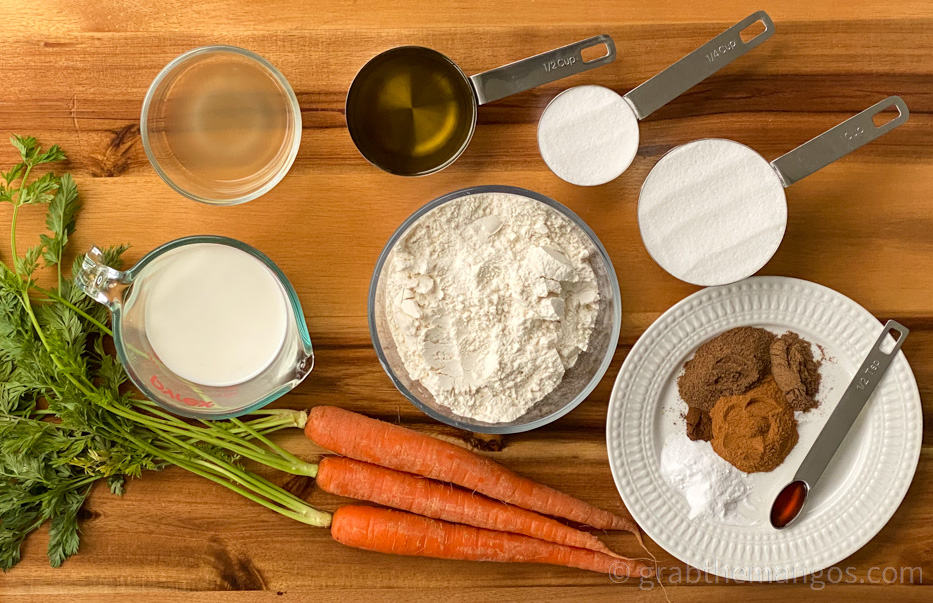
Flour – Use all-purpose flour to give the cake structure and a tender crumb. Make sure to measure it properly by spooning it into the measuring cup and leveling off to avoid a dense cake.
Cinnamon & Nutmeg – These warm spices add the classic fall flavor to this cake. Cinnamon provides a sweet warmth, while nutmeg adds a subtle depth.
Salt – Enhances the other flavors in the cake and balances the sweetness.
Baking Powder – This is the leavening agent that helps the cake rise, creating a light, fluffy texture.
Granulated Sugar & Brown Sugar – Both sugars add sweetness, but brown sugar also brings a hint of caramel flavor and moisture due to its molasses content. You can use either light or dark brown sugar.
Coconut Oil – Adds moisture and keeps the cake soft without adding extra flavor.
Eggs – Use large eggs at room temperature for best results. They help bind the ingredients and add richness to the cake.
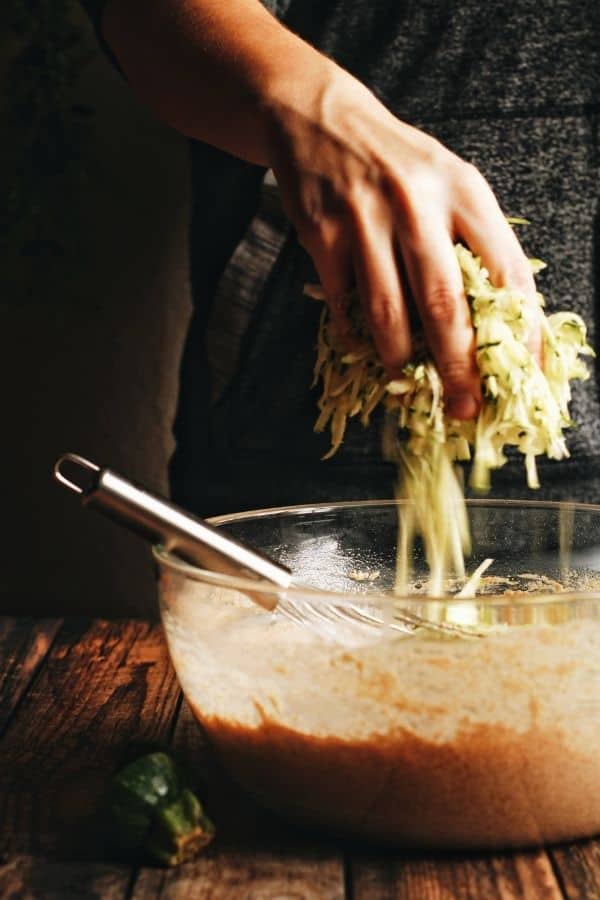
Applesauce – This not only adds flavor but also adds moisture, keeping the cake soft and tender while reducing the need for extra oil or butter.
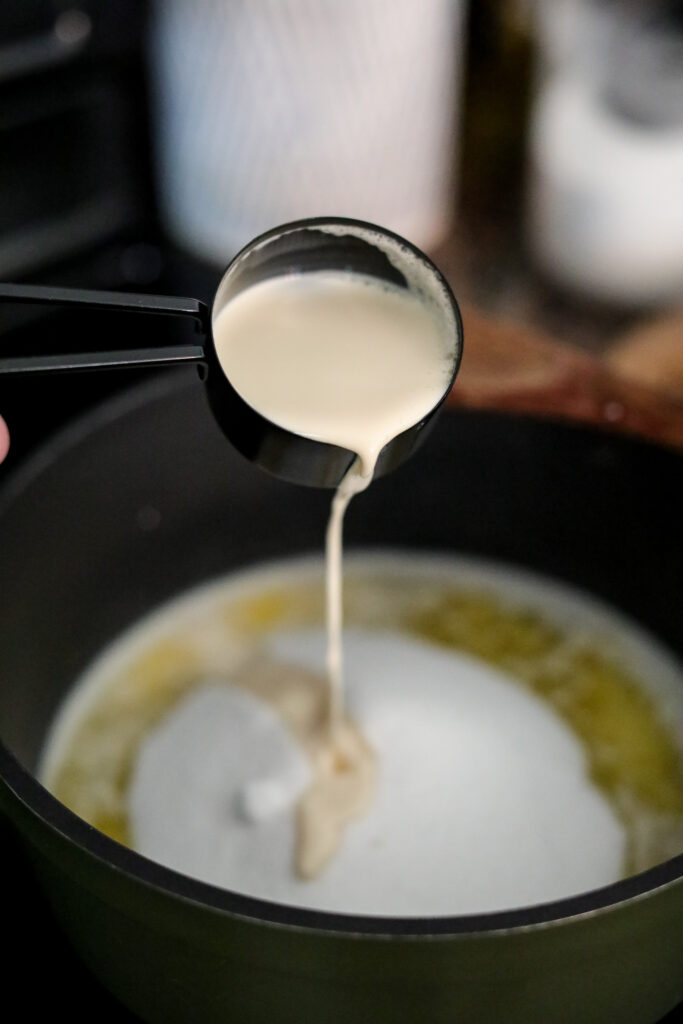
Apple Cider – Adds a rich apple flavor and keeps the cake moist. For a stronger apple taste, you can use reduced apple cider.
Pure Vanilla Extract – Enhances all the flavors in the cake and adds a warm, comforting note.
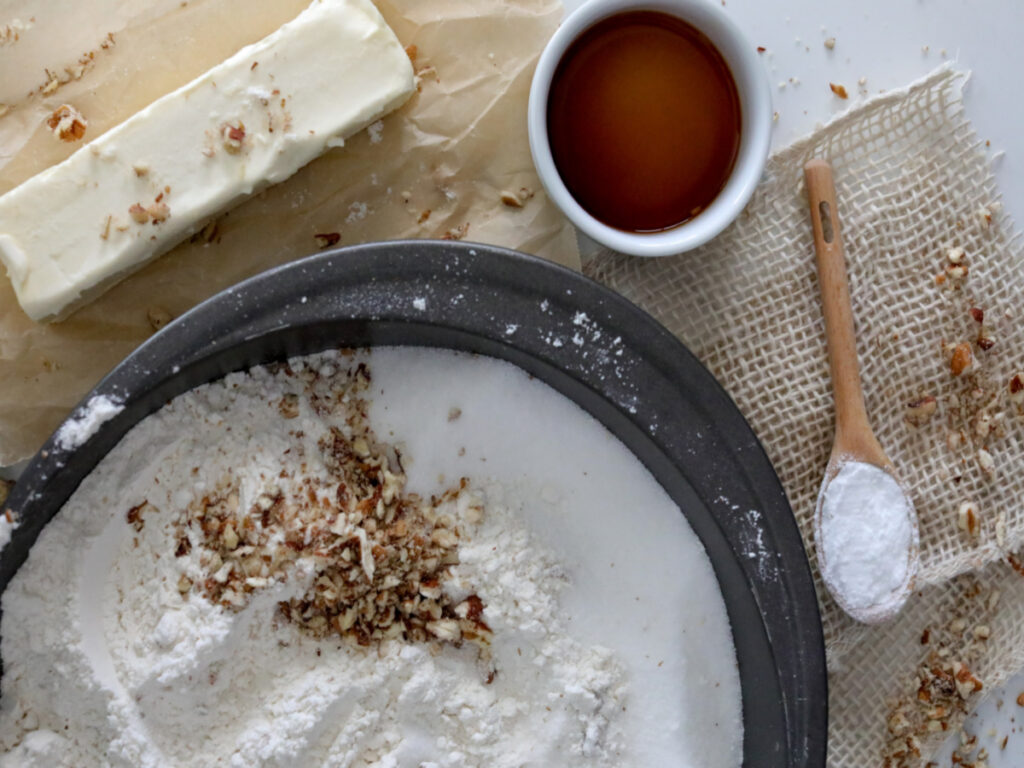
Ingredients For The Topping
Unsalted Butter – Melted butter is brushed onto the cake, allowing the cinnamon-sugar mixture to stick and adding extra flavor.
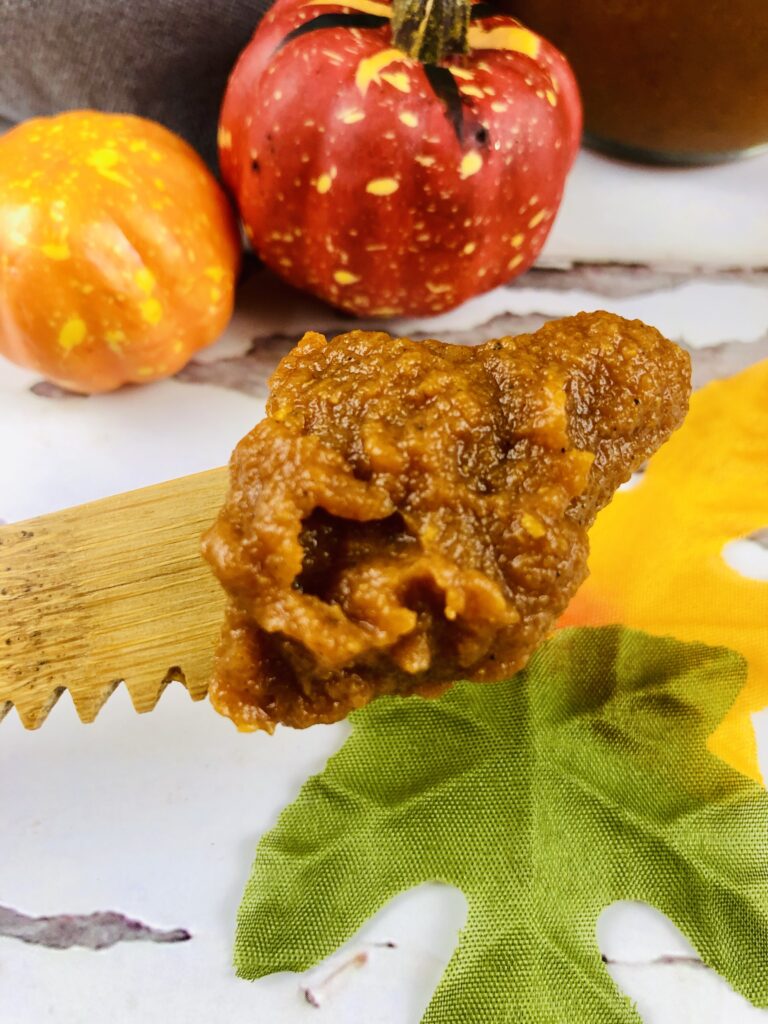
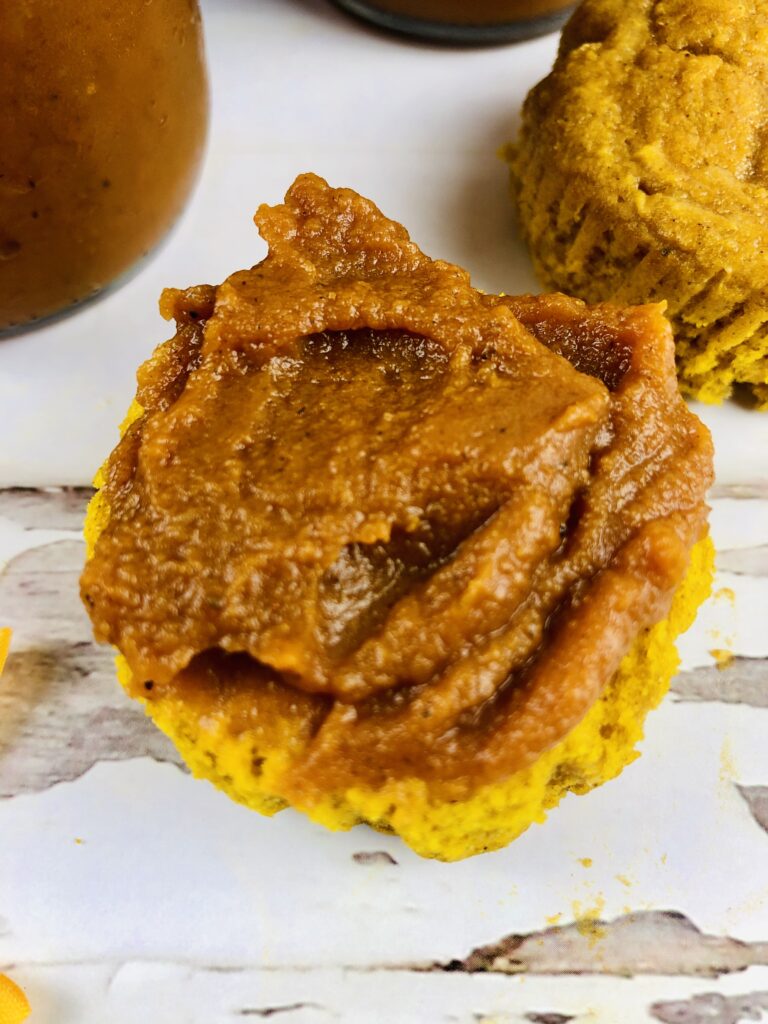
Sugar & Cinnamon – This simple topping gives the cake a sweet, slightly crunchy finish, reminiscent of a classic apple cider donut!

How To Make Apple Cider Bundt Cake
Before you start making this apple cider bundt cake preheat your oven to 325 degrees. Use a non-stick baking spray to coat your bundt pan or use a regular non-stick spray and then dust it with flour.

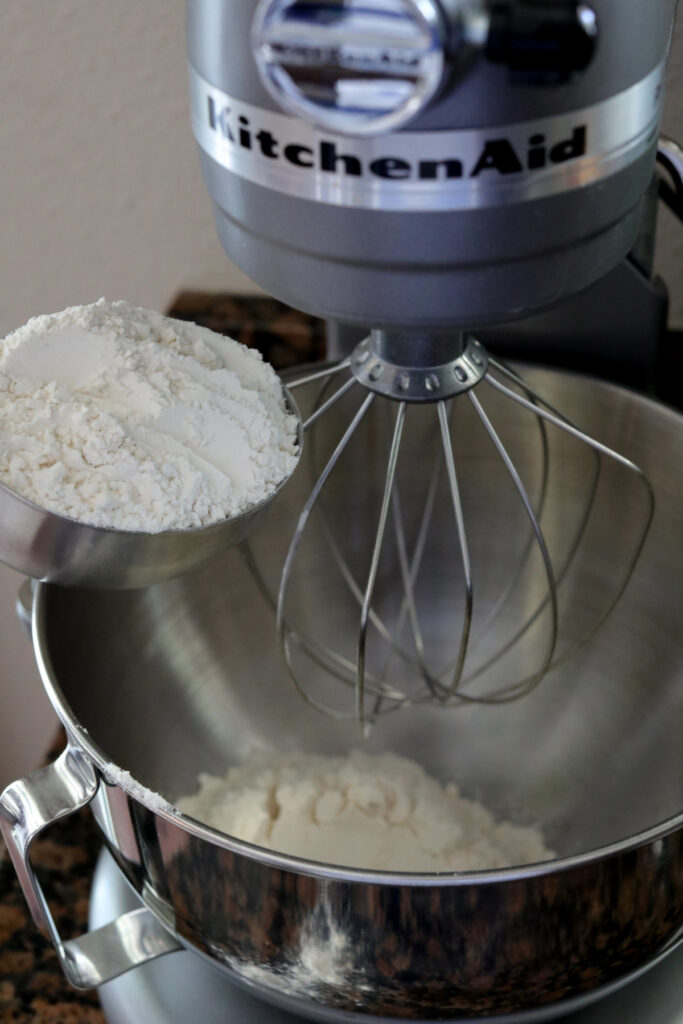
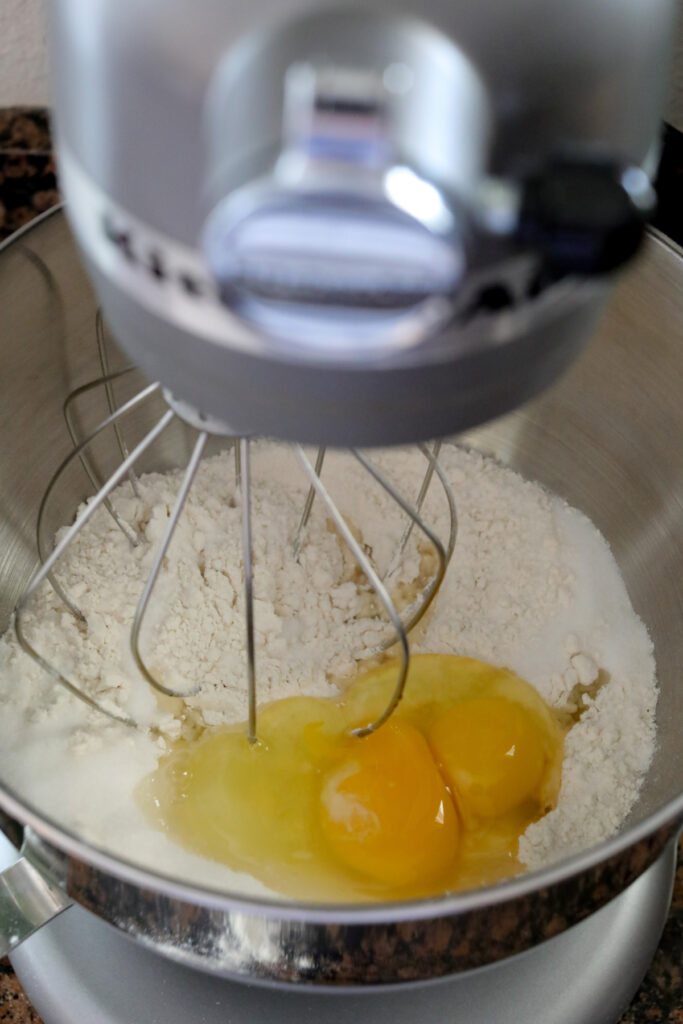
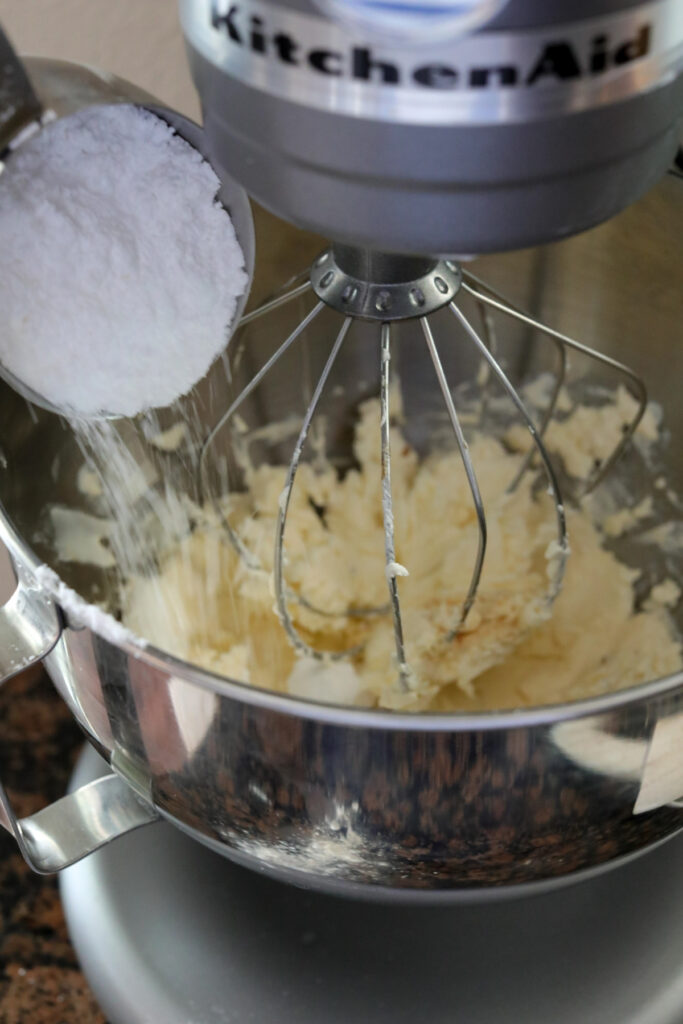
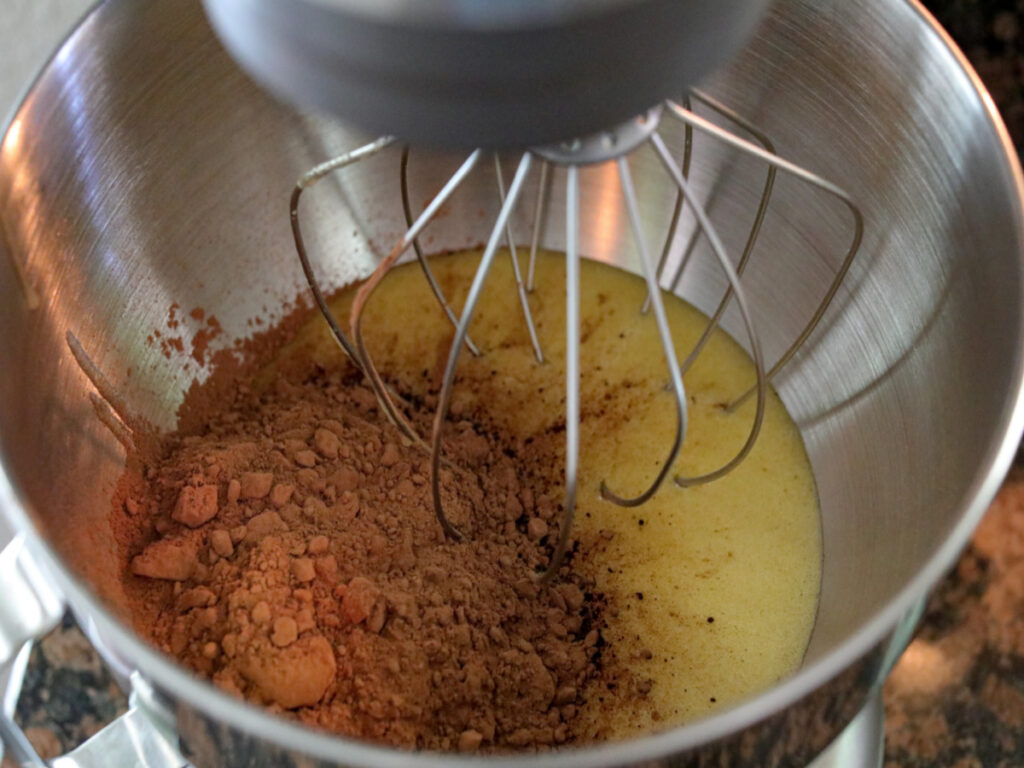
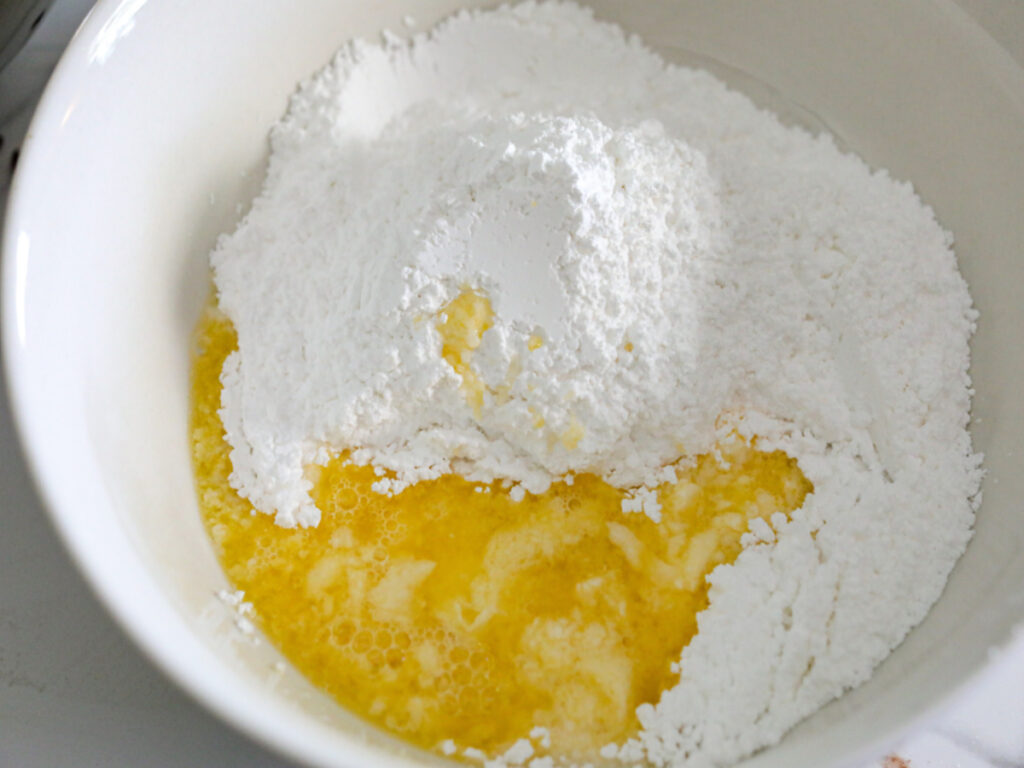
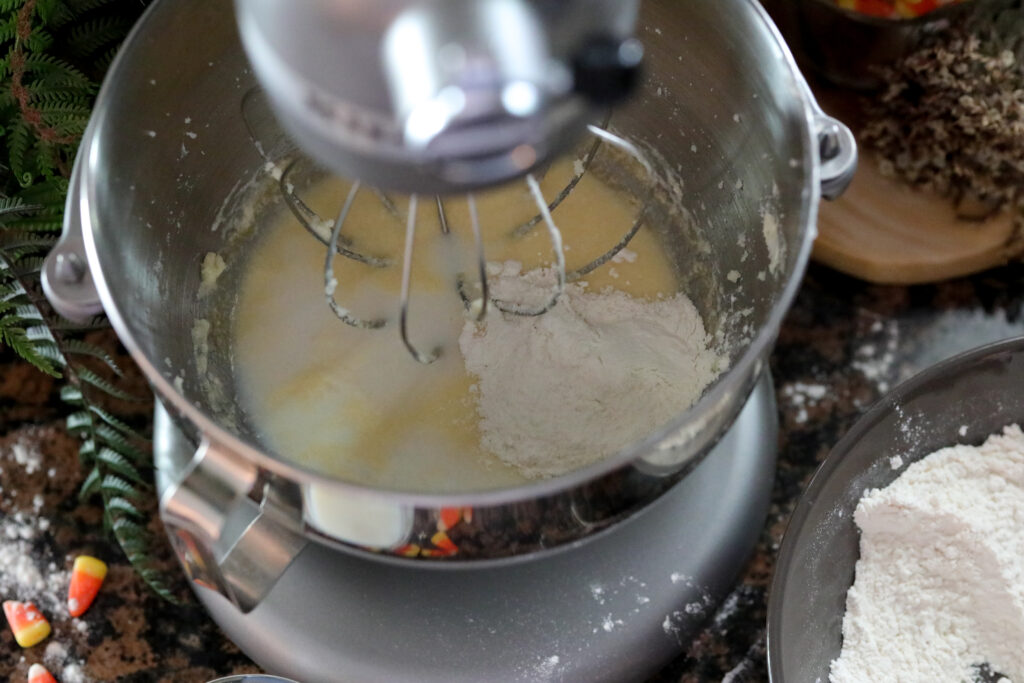
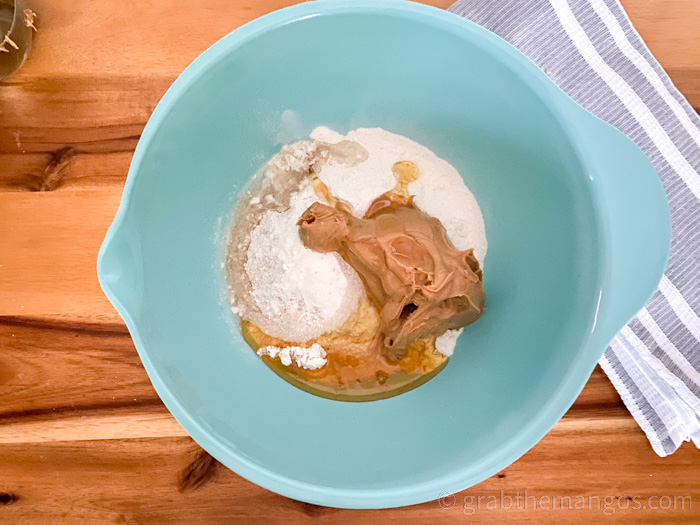
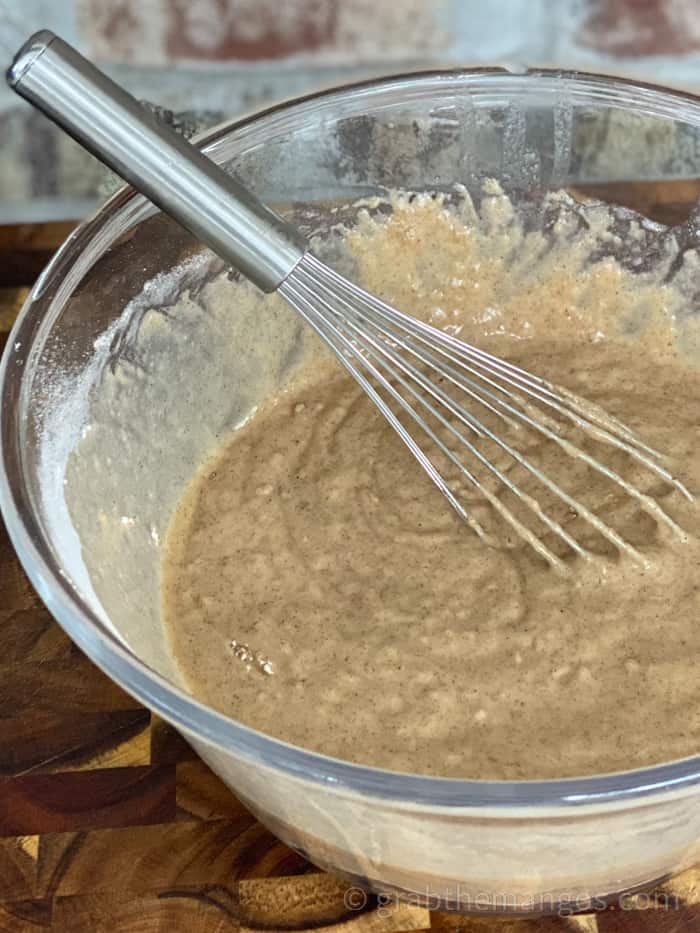
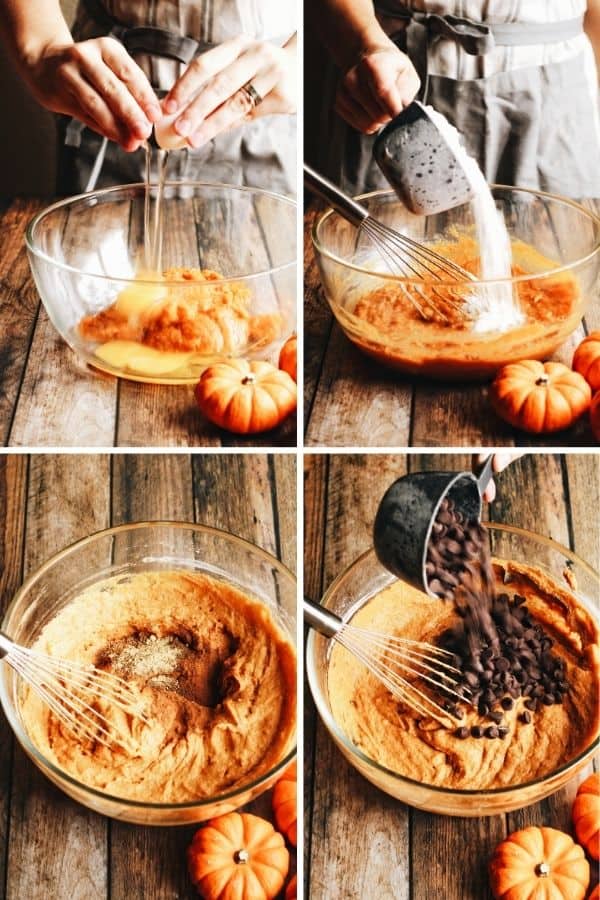
Combine the flour, cinnamon, salt, nutmeg, and baking powder. Mix it together to combine. Set aside.


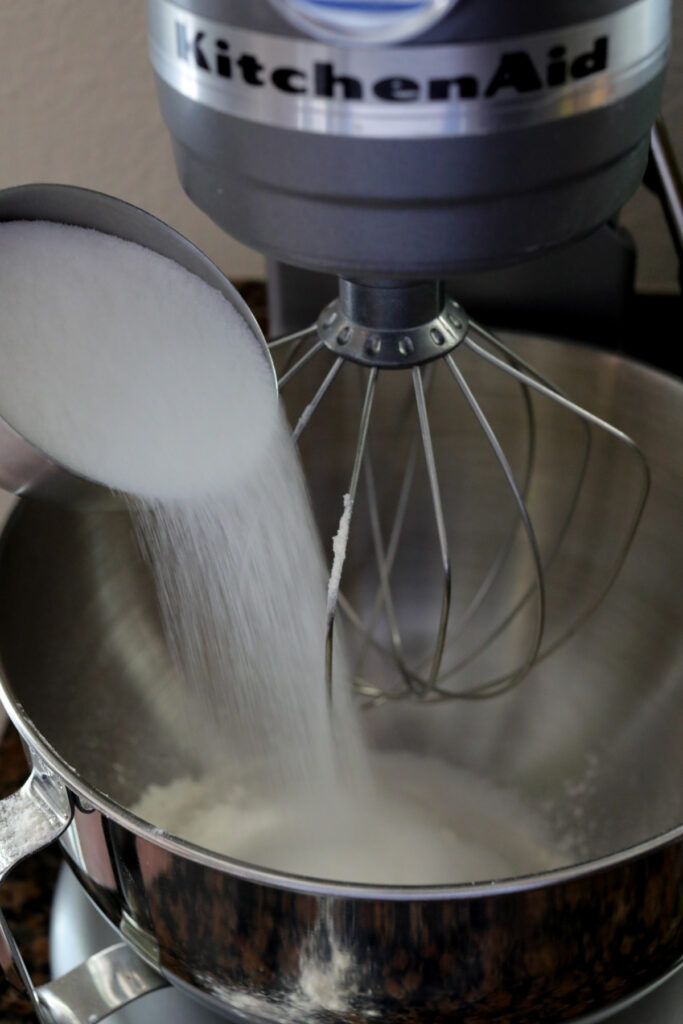
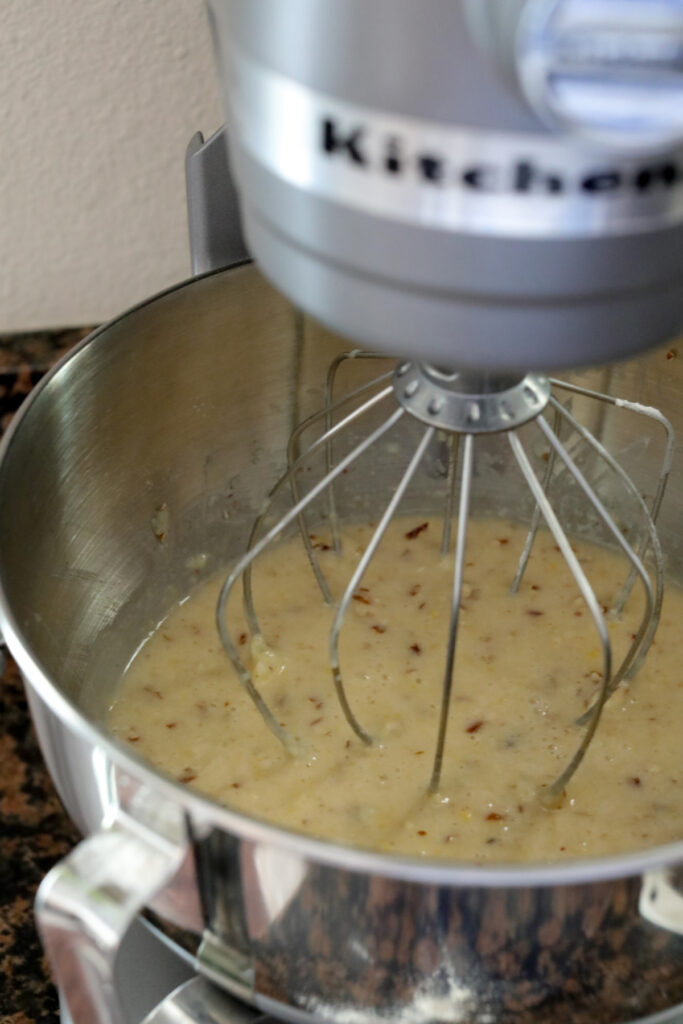
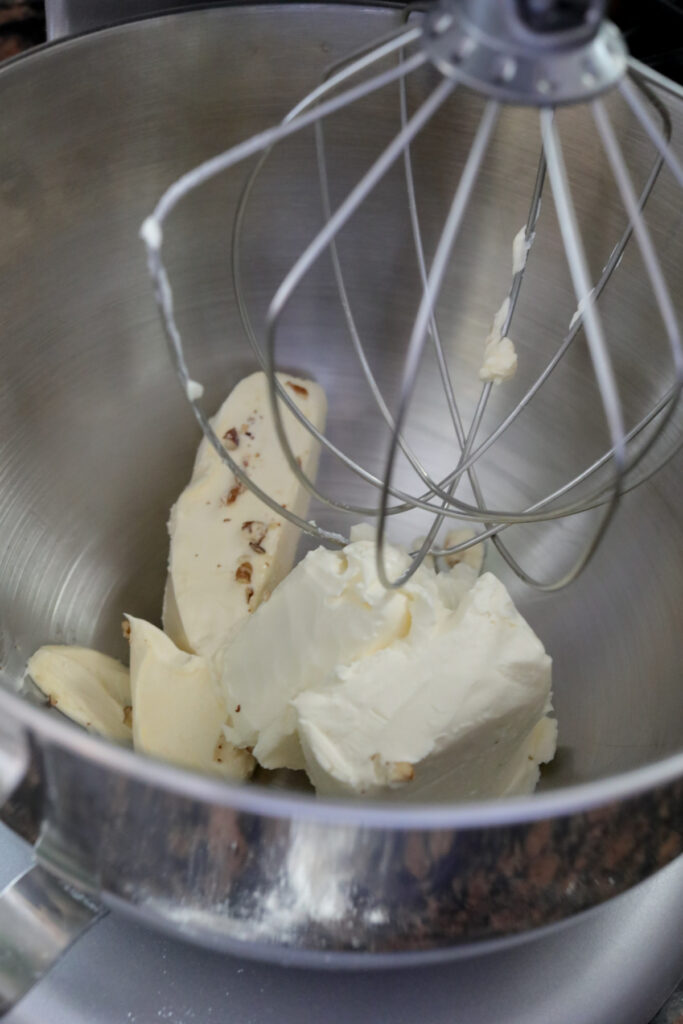
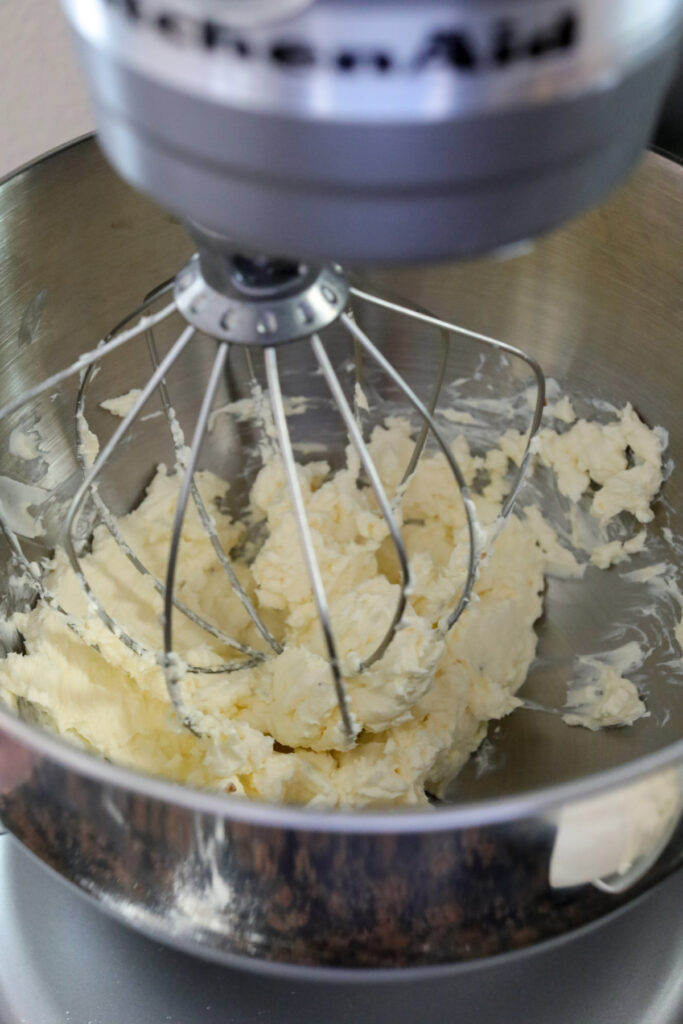
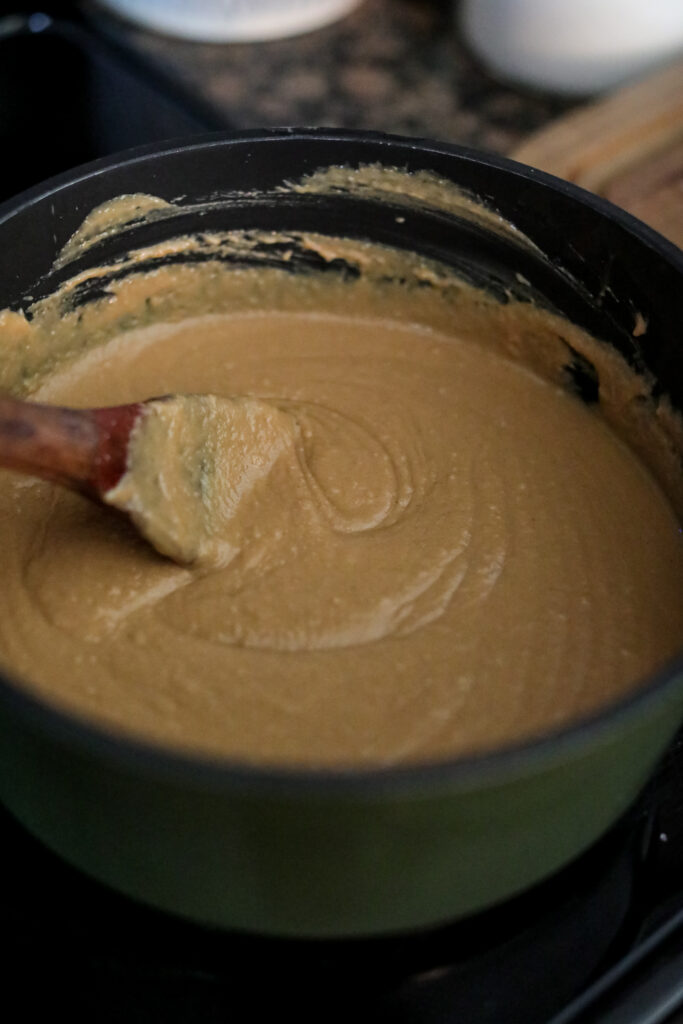
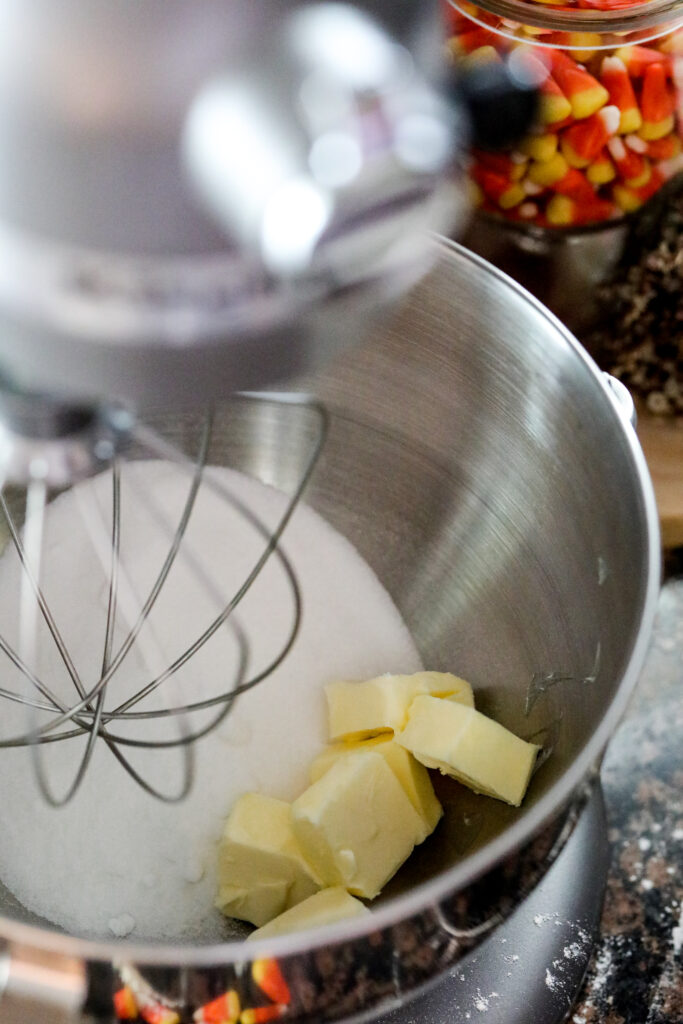
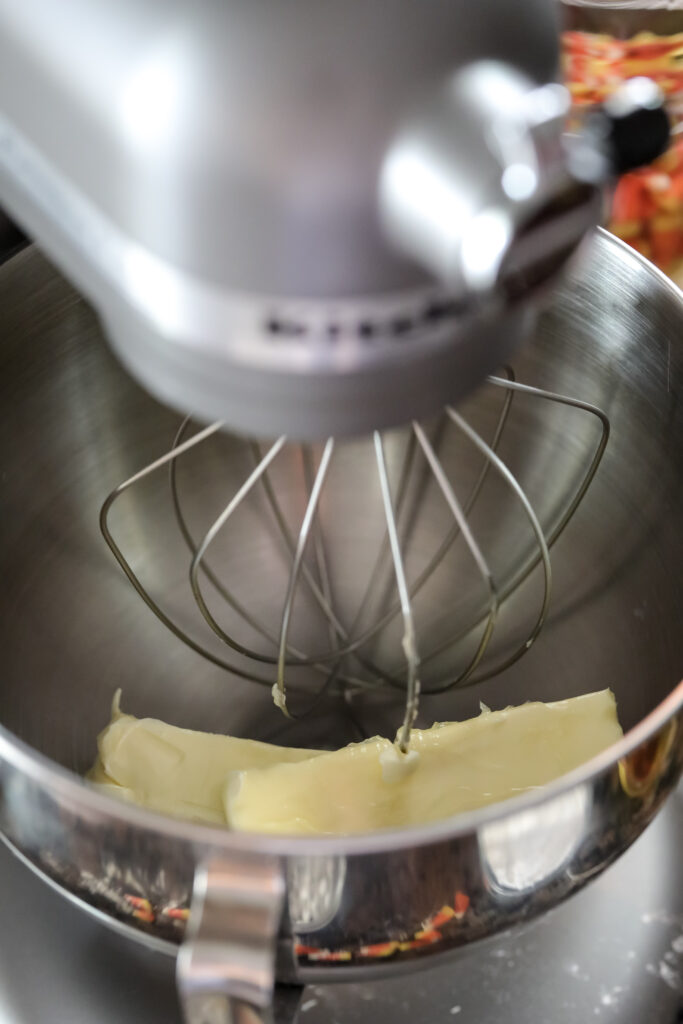
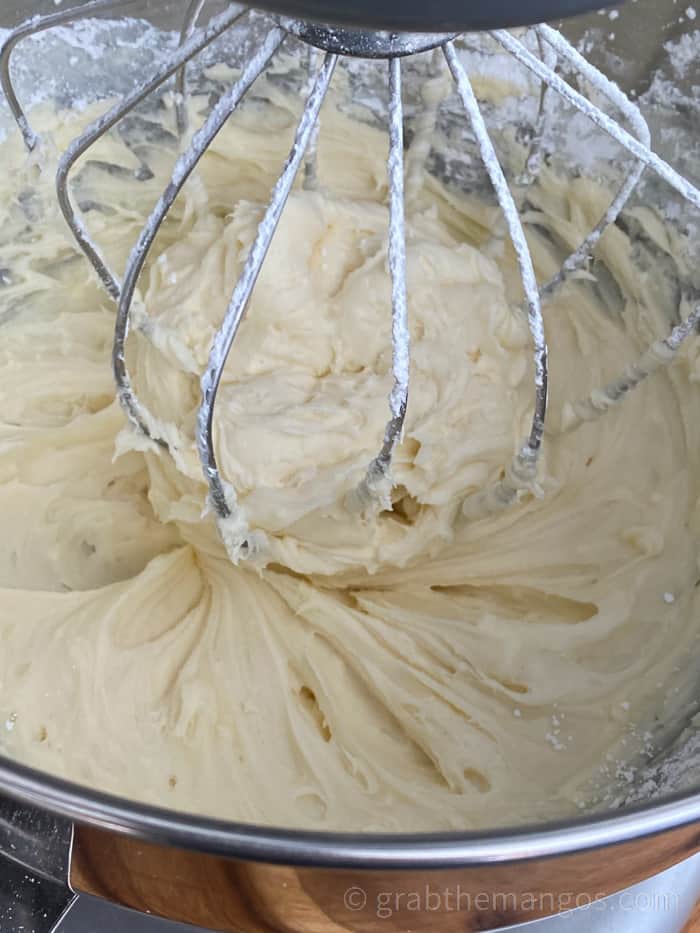
Using a large mixing bowl, combine the sugar, brown sugar, and oil. Mix on medium speed for 1-2 minutes to combine.


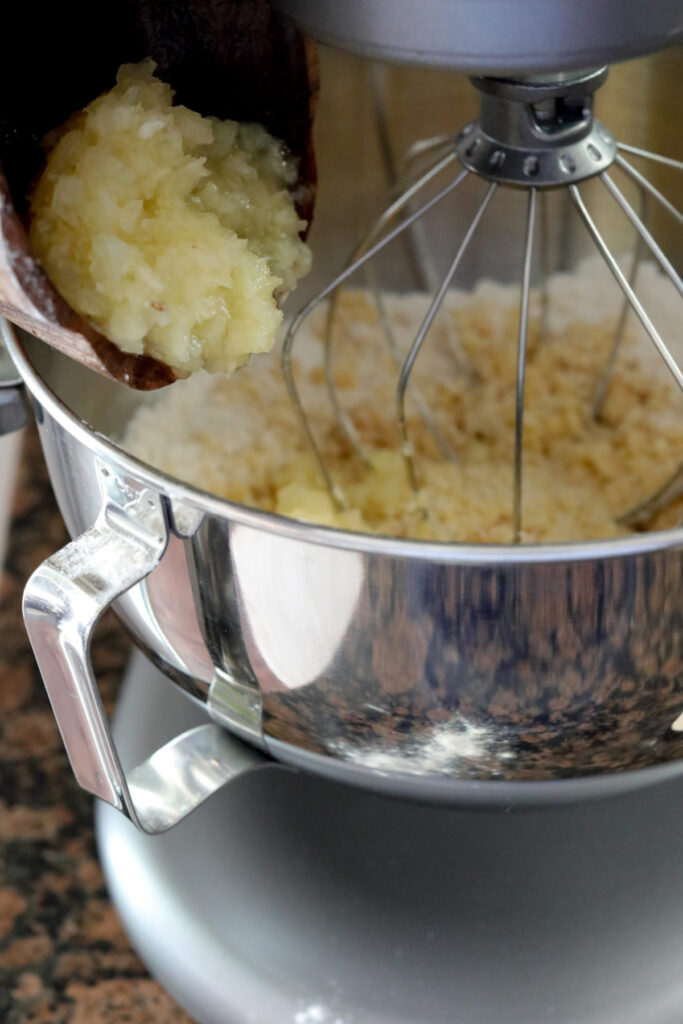
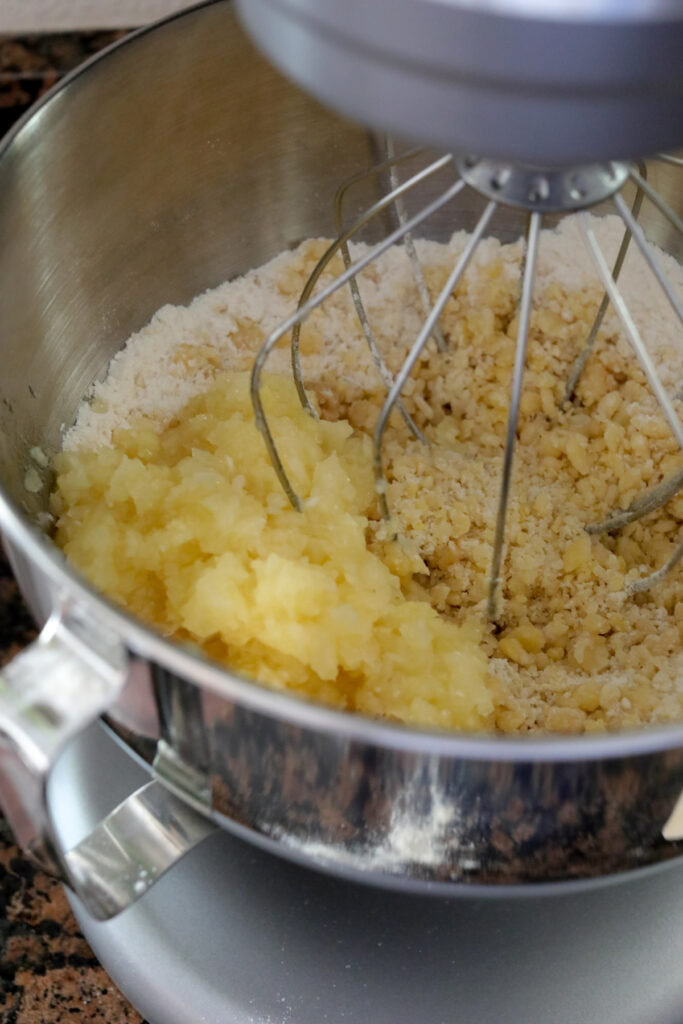
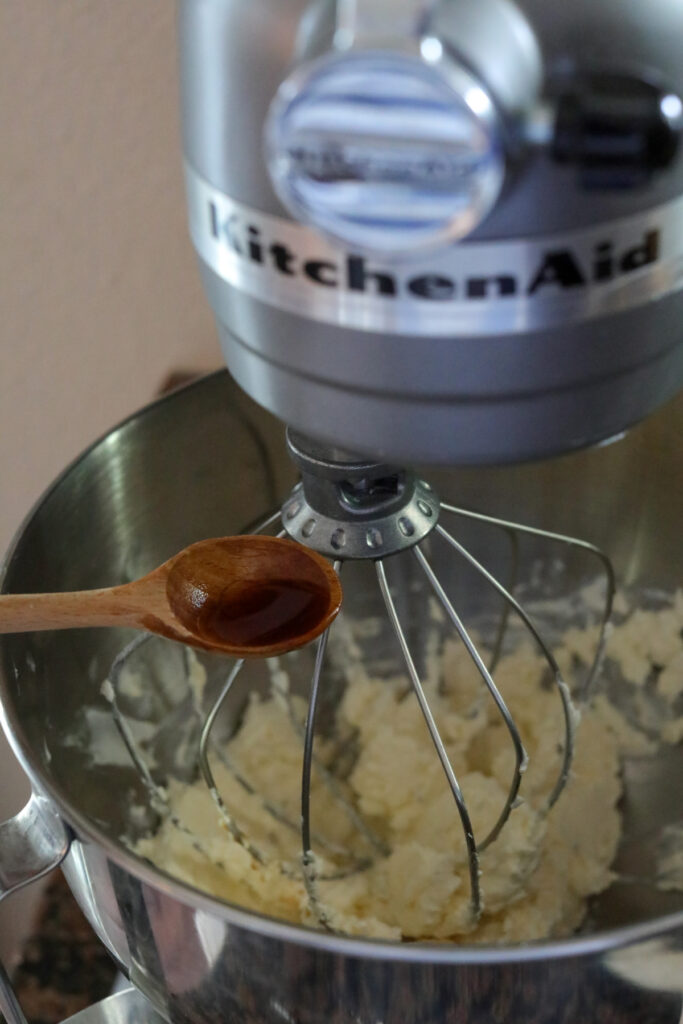
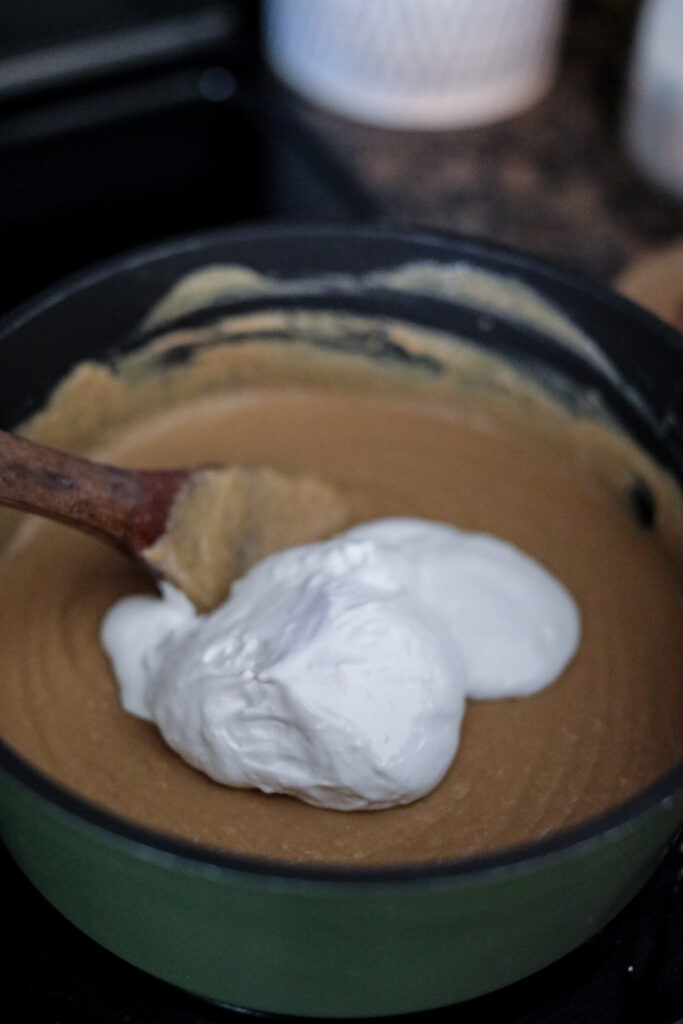
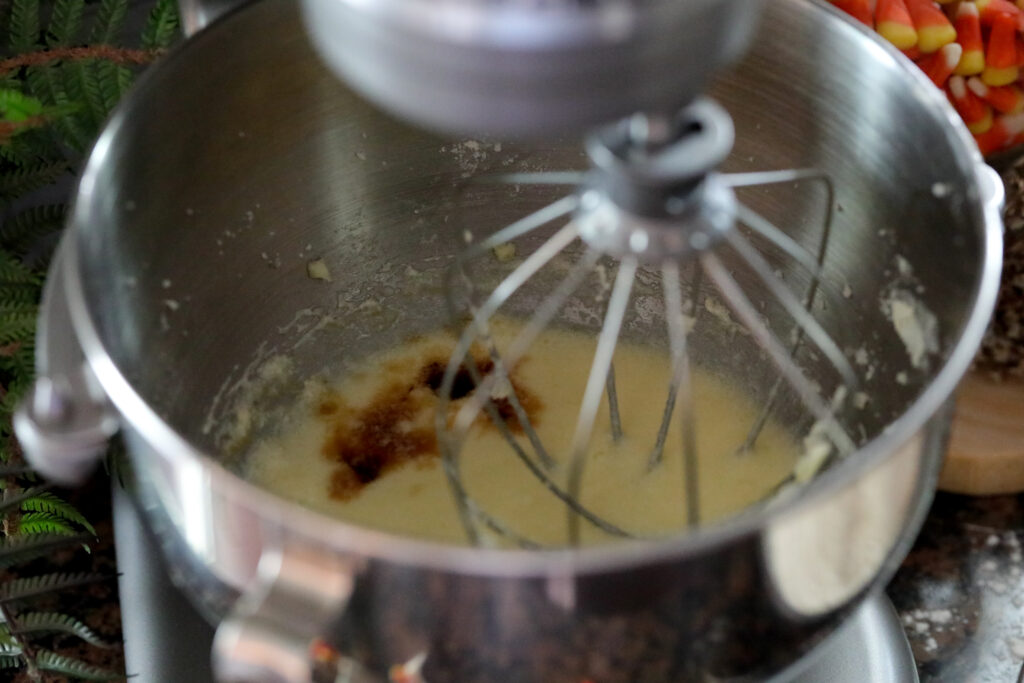
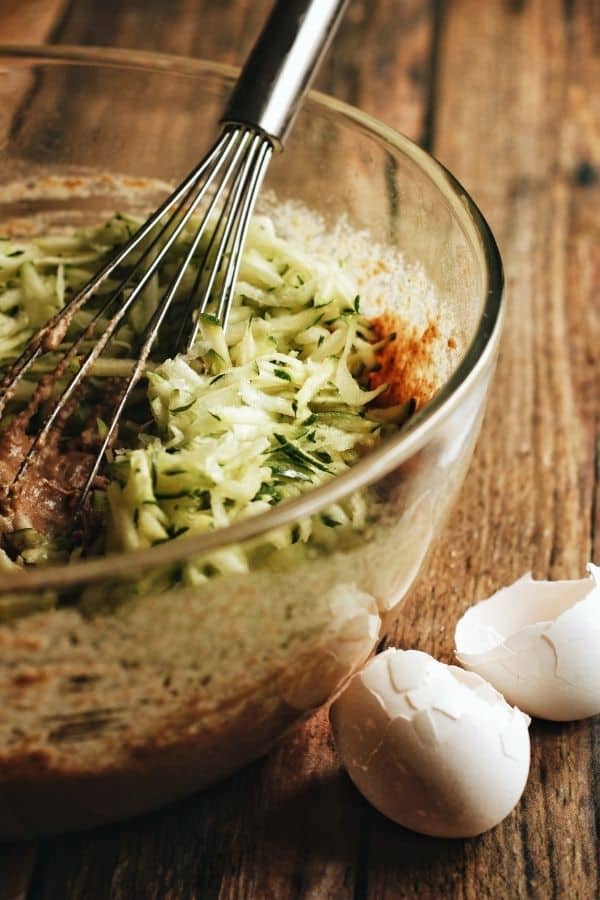
Add the applesauce and the vanilla to the mixing bowl. Mix together to combine.


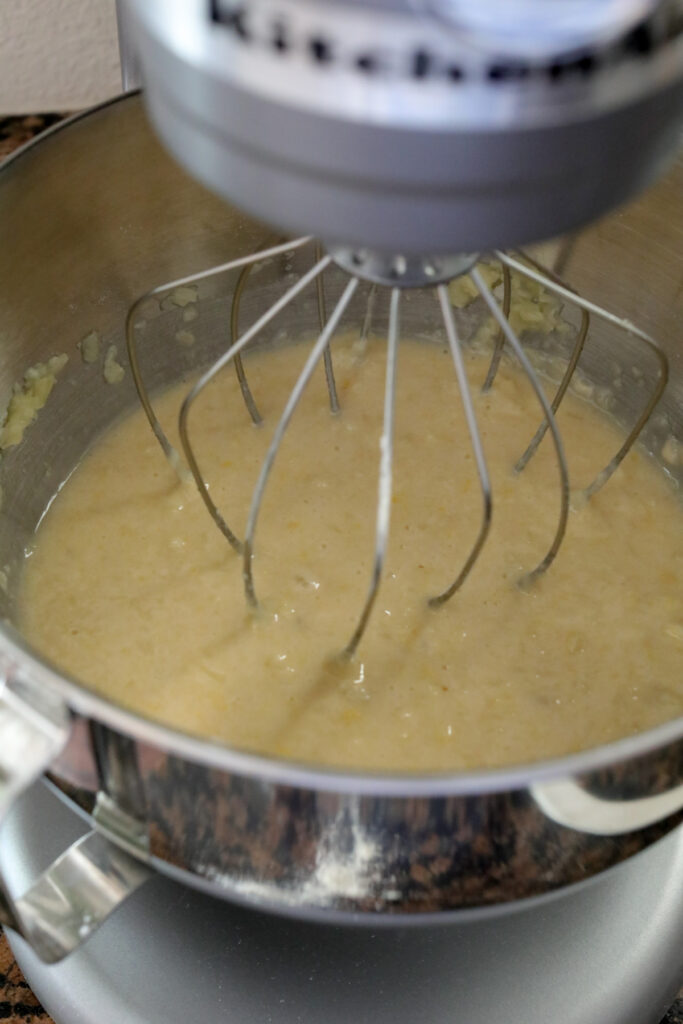
Mix the apple cider and flour into the mixing bowl. Mix to combine. The Batter will be slightly thin.


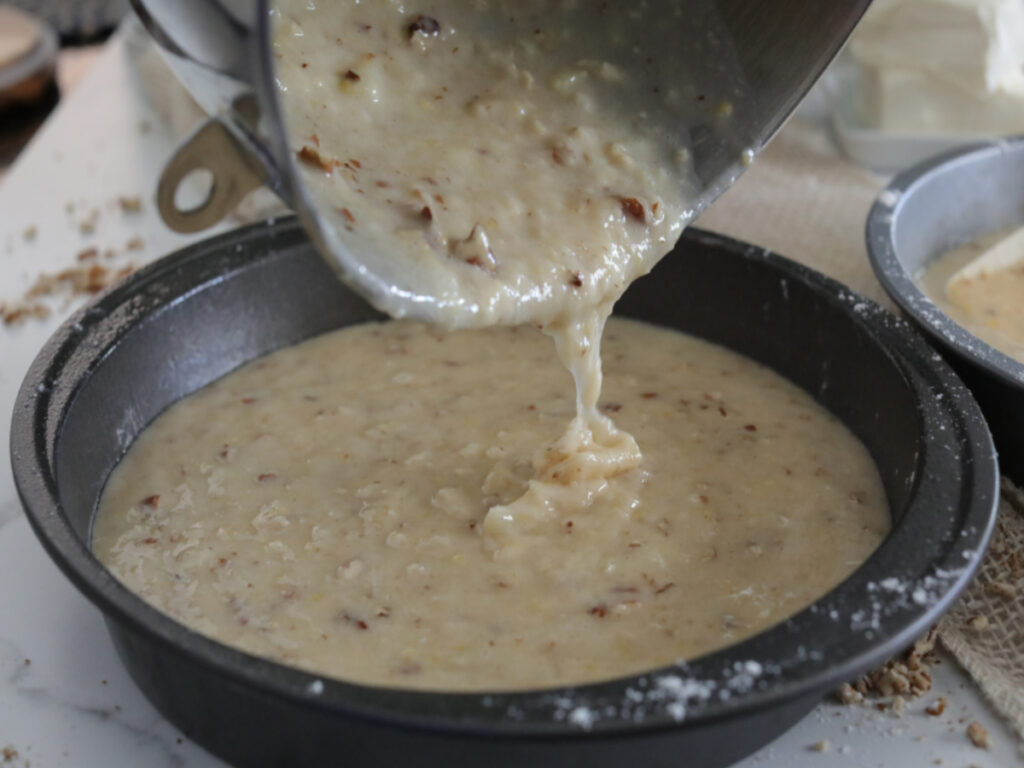
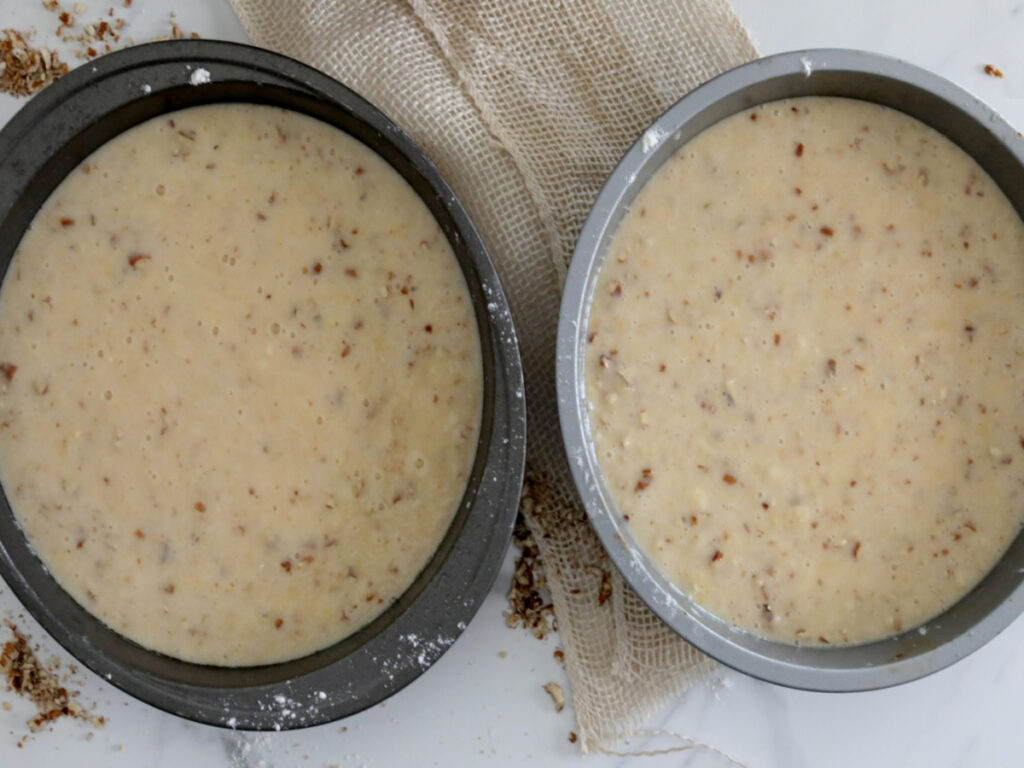
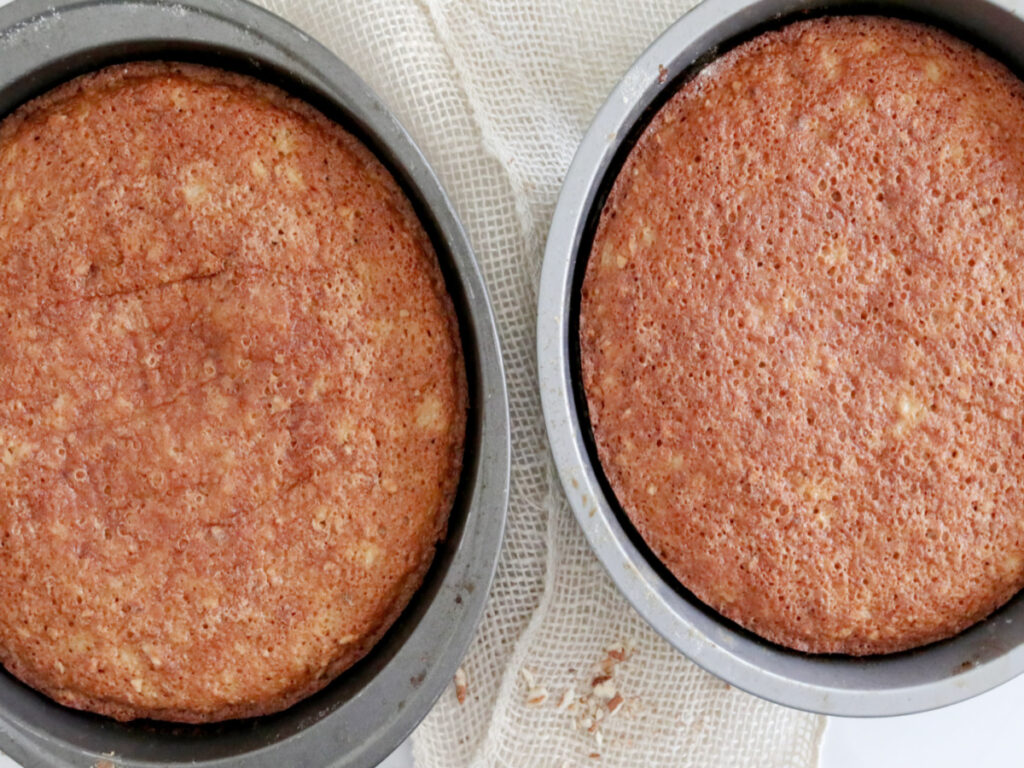
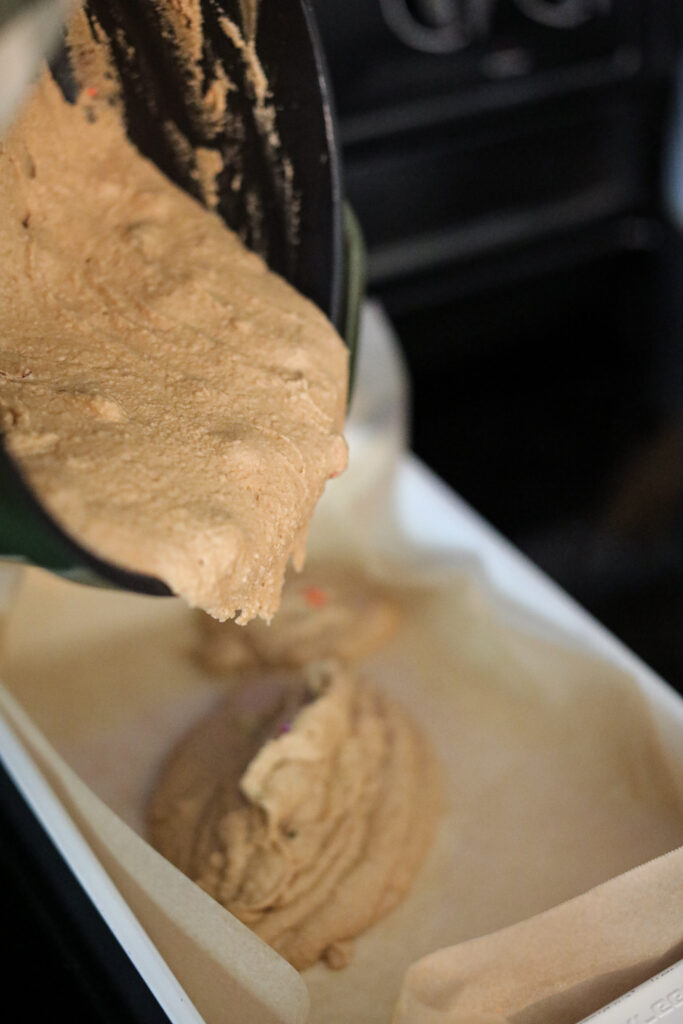
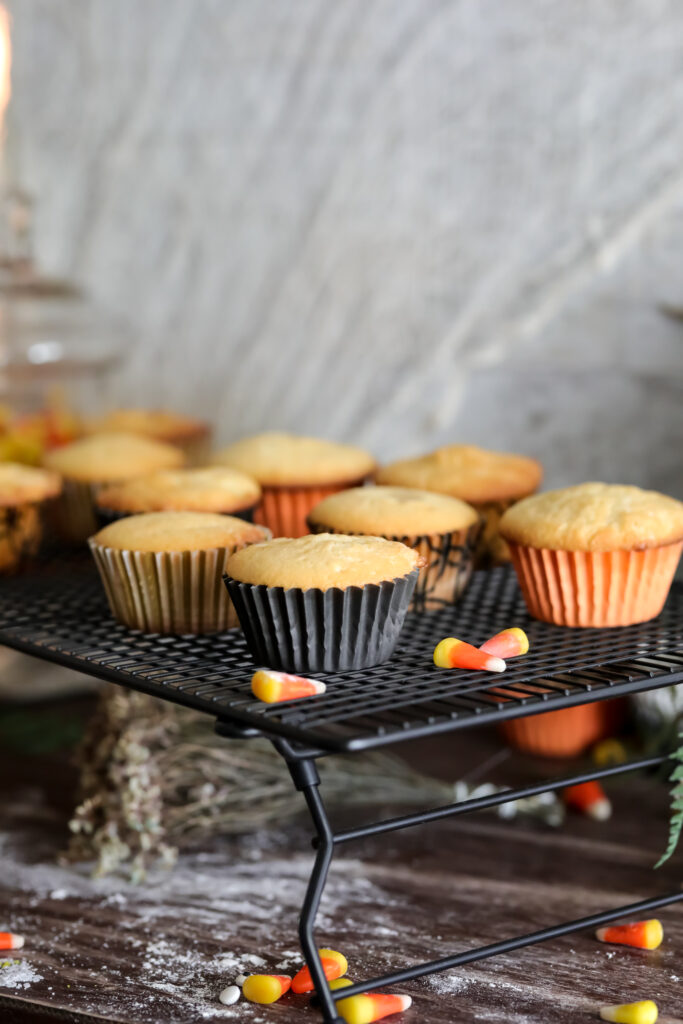
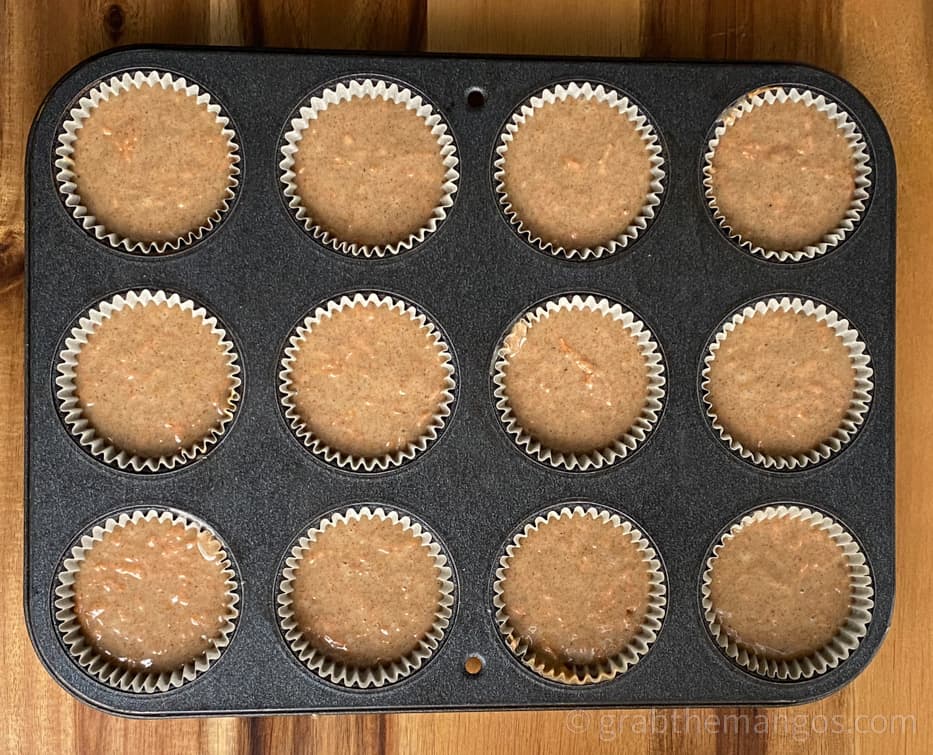
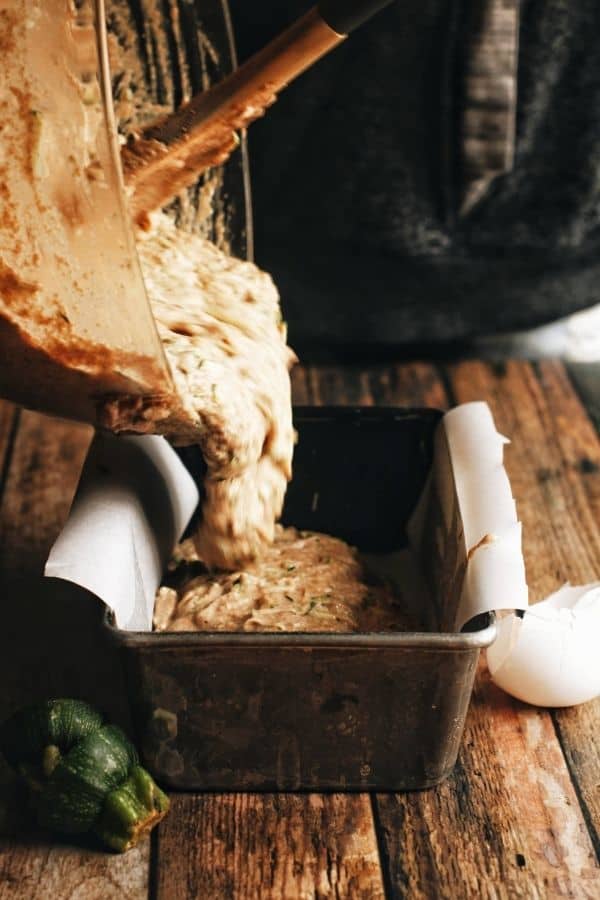
Pour the batter into the greased pan. Bake for 50-55 minutes. The cake is done when a toothpick inserted in the center of the cake comes out clean.


Allow the cake to cool for 15-20 minutes before turning it over on a flat plate or cooling rack.

Using a pastry brush, coat the cake in melted butter.
In a small bowl combine the 2 teaspoons of cinnamon with the 1⁄4 cup sugar.

Mix well. Pat/rub the mixture onto the cake until you have covered all of it. Mix well. Pat/rub the mixture onto the cake until you have covered all of it.

Tips for the Best Apple Cider Donut Bundt Cake
- Room Temperature Ingredients: Make sure your eggs, applesauce, and apple cider are at room temperature. This helps everything mix more evenly.
- Don’t Skip the Flour Dusting: Even with non-stick spray, a dusting of flour ensures the bundt cake releases smoothly.
- Cool Before Adding the Topping: Letting the cake cool slightly before adding the cinnamon-sugar coating helps the butter absorb into the cake, enhancing flavor.

How to Store Apple Cider Donut Bundt Cake
Room Temperature: If you plan to enjoy the cake within 2-3 days, store it in an airtight container at room temperature. This will keep the cake moist and prevent it from drying out.
Refrigeration: For longer storage, cover the cake tightly and store it in the refrigerator for up to 5-7 days. When ready to serve, let it sit at room temperature for a bit to soften or warm individual slices in the microwave for 10-15 seconds.
Freezing: To freeze, wrap the entire cake or individual slices tightly in plastic wrap and then in aluminum foil, or place them in a freezer-safe bag. Frozen, the cake will keep for up to 2 months. Thaw overnight in the refrigerator or at room temperature before serving.
This way, you can enjoy your Apple Cider Donut Bundt Cake over time, whether it’s fresh, chilled, or even slightly warmed!
Frequently Asked Questions (FAQs)
Q: Can I make this cake gluten-free?
A: Yes! You can substitute the all-purpose flour with a gluten-free baking blend. However, results may vary based on the specific blend used.
Q: Can I use apple juice instead of apple cider?
A: While apple juice can be used, it lacks the depth of flavor that apple cider provides. Apple cider is more concentrated and adds a rich apple flavor to the cake.
Q: How should I store this bundt cake?
A: This cake can be stored at room temperature in an airtight container for up to 3 days. For longer storage, wrap it well and refrigerate for up to a week or freeze for up to 2 months.
Q: Can I use a different pan if I don’t have a bundt pan?
A: Yes, you can use a regular cake pan, but the baking time may vary. Check for doneness with a toothpick around the 35-40 minute mark.
This easy and delicious Apple Cider Donut Bundt Cake recipe will quickly become a fall favorite! Try it for your next gathering, and enjoy the cozy, apple-cinnamon flavors everyone loves.
More Apple Recipes For You To Try
- Healthier Apple Pie French Toast
- Easy Baked Cinnamon Apples
- Apple Pie Gluten Free Coffee Cake
- Skillet Gluten Free Apple Crumble

Apple Cider Donut Bundt Cake
Ingredients
- 3 cups flour see notes for gluten free
- 1 1⁄2 tablespoon baking powder
- 1 1⁄2 teaspoon Cinnamon
- 1⁄4 teaspoon nutmeg
- 1 teaspoon salt
- 1 1⁄2 cups granulated sugar
- 1⁄2 cup brown sugar
- 1 cup coconut oil (or vegetable oil) melted
- 3 large eggs room tempeture
- 1 Cup apple sauce room temperatur
- 1 cup apple cider room temperatur
- 2 teaspoon pure vanilla extract
Topping
- 1⁄4 cup unsalted butter melted
- 1⁄4 cup granulated sugar
- 2 teaspoon cinnamon
Instructions
- Preheat oven to 325 degrees. Use a non-stick spray to coat a bundt pan and then dust withflour. Set aside.
- In a medium size bowl, combine the flour, baking powder, cinnamon, nutmeg, salt. Mix well and set aside.
- Using a large bowl, combine the sugar, brown sugar and the oil. Mix on medium speed.
- Add the eggs and mix on medium speed for 1-2 minutes. Add the applesauce and vanilla. Mix to combine.
- Turn the mixer to low speed and add about 1⁄2 of the flour mixture, followed by half of the apple cider. Keep alternating the flour mixture and cider until you have added all of both. Continue mixing until well combined. The batter will be slightly thin.
- Pour the batter into the bundt pan and bake for 50-55 minutes. The cake is done when a toothpick inserted in the center of the cake comes out clean.
- Allow the cake to cool for about 15-20 minutes before turning it over on a flat plate or cooling rack. Using a pastry brush, coat the cake in melted butter.
- In a small bowl combine the 2 teaspoons of cinnamon with the 1⁄4 cup sugar. Mix well. Pat/rub the mixture onto the cake until you have covered all of it.